


Setting up a low-budget Arduino robotics lab. There’s a certain kind of excitement that comes with building your first robot — that moment when a few lines of code and some blinking LEDs come to life and respond to the world around them. However most of the individuals believe that to get started you must have a fancy laboratory, that would require costly equipment or even a whole workshop. It is not like that at all.
As it turns out, you can affordably construct a reasonably powerful, highly useful and versatile Arduino robotics laboratory without breaking the bank, or a lot of planning or expense. You are a student learning at home, a parent doing STEM work with a child, a hobbyist with a small corner of your room, or whatever you are – this guide will help you to organize everything necessary – and not to scatter your bank account.
Why Build a Low-Budget Arduino Robotics Lab?
Let’s face it — robotics sounds expensive. And sometimes it is. But the Arduino platform changes that. Arduino boards are cheap, tiny, and open-source, implying that you are not required to have top-quality equipment to begin writing applications and experimenting. It all you require is good parts, some space and a system that makes it easy to make and test.
Naturally when you have proper setup, even limited one you can:
-
Run more tests without frustration
-
Protect your parts and stores them conveniently With on the job experience, learn quicker
-
Learn best by trial and error Minimize the clutter and brouhaha, wiring and rewiring may bring in.
And the best thing about it is that your lab will turn into a room where you will enjoy learning rather than be overwhelmed.
Get Clear About Your Goals
You can always benefit by knowing what you are actually attempting to do before you start to insert your first wire to plug in. Do you construct simple blinking LEDs projects? Thinking to build a line-follower? Perhaps, you are interested in automating something within your house. Begin humble.
It does not matter what you want to achieve. You do not require all the sensors and tools at the first day. Just start with beginner input/output means such as buttons, LED, motors. The same is said about creating a lab it is one project at a time, one component at a time.
Choosing a Space That Works
The good news is, you don’t need a separate room or a giant table. A low-budget robotics lab can live in a corner of your desk, on a folding table, or even inside a carry box that you unpack when needed.
What matters more than size is consistency. Your space should let you:
-
Keep your Arduino, breadboard, and components laid out flat
-
Access a power source (USB or outlet)
-
Store your tools and wires without creating chaos
-
Avoid disruptions like pets, spills, or shaking surfaces
Good lighting is important too. If your space is too dark, you’ll struggle to see jumper wires or read resistor bands. Natural light or a cheap desk lamp works wonders.
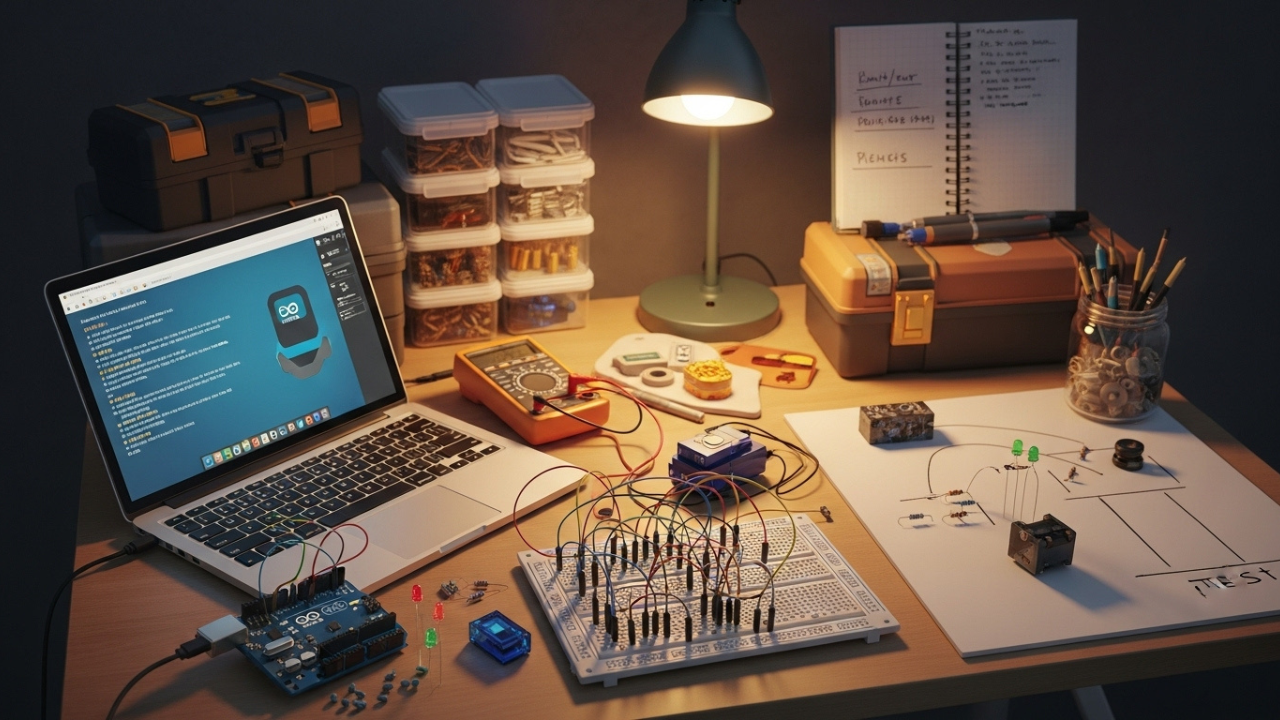
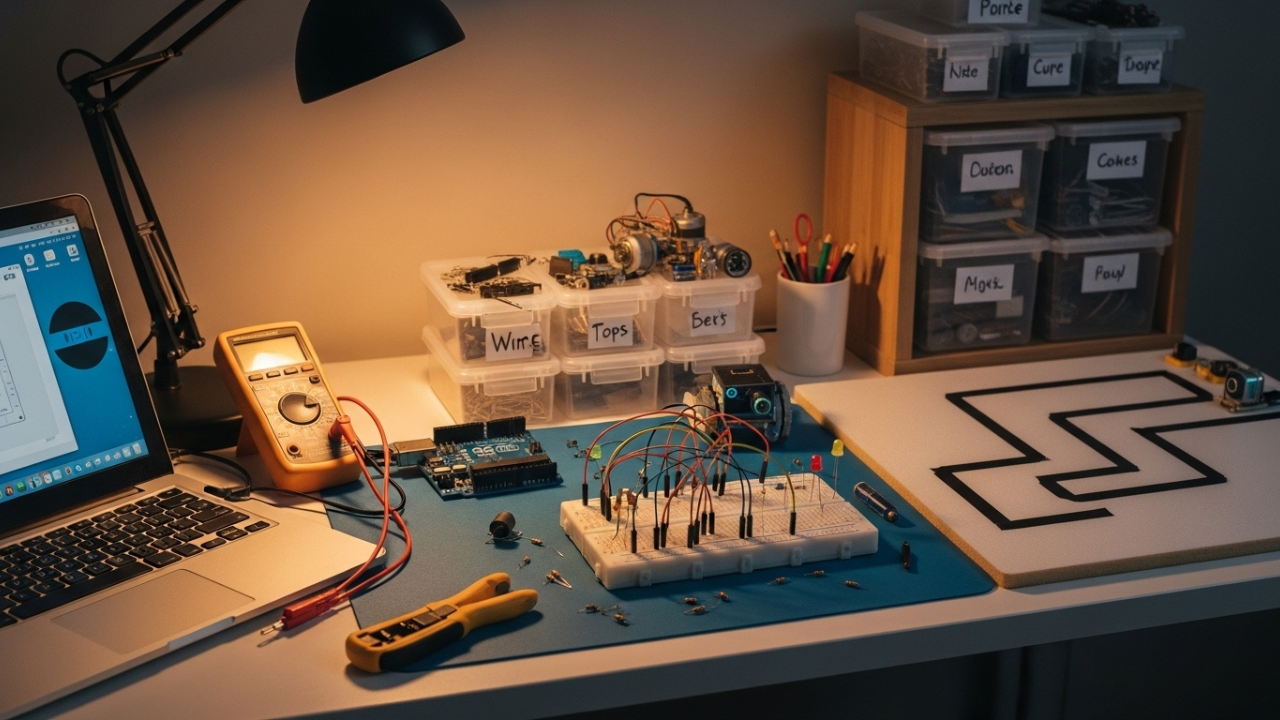
The Core of Your Lab: What You Actually Need
At the center of your lab is the Arduino board. For most beginners, an Arduino Uno is the ideal choice — it’s stable, well-documented, and compatible with tons of sensors and shields. When space and budget are an issue, then the Arduino Nano or a clone model will also do the trick at a cheaper cost.
There are few more items to add to your everyday toolbox as soon as you began using the board:
-
A quick and solderless simple breadboard and a couple of jumper wires
-
A few resistors, capacitors, and LEDs for testing basics
-
One or two servo motors or small DC motors
-
At least one sensor — such as an IR or ultrasonic sensor — for interaction
-
A USB cable to connect the Arduino to your computer
You can buy these individually or look for a starter kit, which often includes most of them for less than the cost of buying separately.
The point isn’t to get everything at once — it’s to build just enough to start prototyping, experimenting, and learning.
Tools That Help (Even on a Tight Budget)
You don’t need a full tool wall or lab bench. But a few basic tools make everything smoother.
A small multimeter helps test voltage and continuity. A wire stripper makes cleaner, safer connections. If you plan to make anything semi-permanent, a soldering iron is helpful — but optional for early projects.
Instead of expensive toolboxes, use what you already have. A few empty jars, plastic food containers, or a dollar-store drawer tray can organize your parts neatly. Label things with tape and marker if you like — whatever helps you spend more time building and less time searching for that missing jumper.
Software Setup — Zero Cost, Big Value
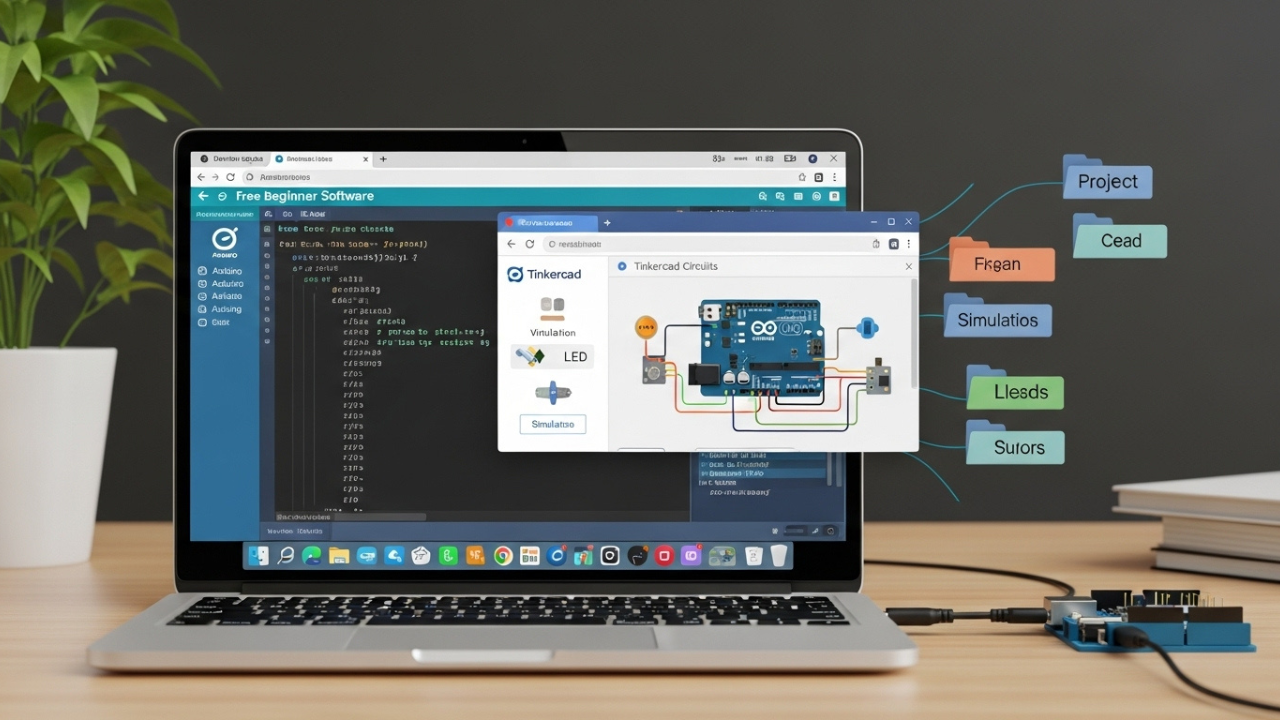
One of the best things about Arduino is the software is free. Get Arduino IDE by the official site or open the web editor that runs on any web browser. After the installation, you will probably wish to configure some of the typical libraries common to all electronic devices, fragments of pre-written code, that make working with sensors or motors less complex. These can all be added directly inside the Arduino IDE with a few clicks.
You’ll also want to keep your sketches (Arduino’s term for programs) organized. Create folders for each project. Use comments in your program to make yourself remember the task of a particular line. Such habits will end up saving you time, and this will prevent errors.
And in case you want to simulate an Arduino circuit and coding and do not want to use a breadboard (no Soldering), then you can use the online Arduino-compatible environments like Tinkercad Circuits which allow you to simulate the circuit and even code an Arduino (within your browser) Whenever you feel the need. Now that you have your space, your board, and your tools, it’s time to build a setup that lets you work comfortably.
Creating Your First Project Station
You have gotten your space, your board and your tools- now you can make a setup which will allow you to work comfortably. Begin by cleaning your working desk.
Put your Arduino and breadboard up on a non-slippery mat, clipboard or even a piece of cardboard which has been taped down so that it does not move. Always have your USB cable within reach and put your laptop in a place that you can conveniently code and upload.
If your projects involve movement — like a line-following robot or sensor-triggered action — set aside a small area nearby for testing. A piece of whiteboard or poster board makes a perfect mini arena for simple bots.
What You Can Get at Different Budget Levels
Here’s a quick look at what you can expect to afford at common budget tiers. Prices vary by location, but this gives a rough idea of how far your money can go.
| Budget | What You Can Get |
|---|---|
| $50 | Arduino Uno clone, breadboard, basic sensors, jumper wires, LEDs |
| $100 | Higher quality parts, motor drivers, servo motors, IR/ultrasonic |
| $200 | Multiple boards, soldering iron, storage boxes, advanced modules |
Even at $50, you can build multiple projects — the key is reusing parts, planning smart, and not buying everything at once. Get what you need now. Add more later.
Making the Most of a Small Space
Several constructors begin in cramped quarters: a common desk, a section of the dining table or even the lid of an imprisonment of plastic. A small space might appear as a limitation in the beginning, but it makes you more efficient, and once your workspace is appropriately designed, it will make your work even faster.
Keep your work area clean and reset between sessions. A simple habit like putting wires back into jars or resetting your breadboard layout will save you minutes (and confusion) every time you return to a project. If your space doubles as a family or study area, make your lab mobile. Any roll-away station requires little more than a shallow plastic drawer unit on wheels or a converted toolbox on which to store your scattered parts. With time, the more you spend building the less you spend searching.
Keeping Your Components Organized Without Buying Fancy Storage
It’s easy to let wires, sensors, screws, and components pile up. And once they do, it gets harder to keep track of what you have — or worse, you accidentally buy duplicates.
You don’t need a hardware store organizer. Small solutions make big difference:
-
Resistors, capacitors, or tiny screws will fit perfectly in a pillbox, old mint tin, or used spice jar.
-
Index cards can help you label sensor types and values and keep them with the parts in bags.
-
Bundles of jumper wires can be labelled with masking tape and markers: by length or by type.
- Divide parts into groups based on the functionality: sensors in one box, motors in another, power and batteries in the third.
Label everything, even if it feels obvious now — because after a few months away from a project, those “obvious” wires or sensors might look like strangers.
Growing Your Lab Slowly — The Smart Way
Once your core setup is solid, it’s tempting to start buying upgrades. But here’s the truth: you don’t need most of them right away.
Instead, grow your lab based on projects, not wishlists. If your current robot works fine with IR sensors, hold off on buying a camera module. If you’re not building a Wi-Fi controlled project yet, you don’t need an ESP32 or Bluetooth module today.
Let your curiosity drive your shopping list — not the other way around.
As a rule of thumb, ask yourself two questions before buying:
-
Can I build at least two projects with this new part?
-
Do I already have something similar that I’m not fully using?
This approach keeps your lab lean, purposeful, and easy to manage.
Real Challenges You’ll Probably Face — and How to Beat Them

No matter how careful or creative you are, every builder hits obstacles. Here are a few that are especially common in small, low-budget labs — and a few ways to get through them.
Power Problems
Some setups stop working because of loose USB cables or unstable power. Keep a reliable USB cable and consider getting a portable power bank with 5V output for testing untethered bots. If your projects require more juice, add a breadboard-friendly power module with voltage regulation.
Wiring Mistakes
This happens more than anyone admits.
Sensor Inaccuracy
When IR or ultra sonic sensor produces irregular behavior, watch the lighting in your area. Always avoid bright reflections, heavy shadows or scratchy backgrounds as these can knock readings off message. The difference is made by testing in a clean well-lit area.
Burnout or Project Fatigue
Sometimes your energy dips. It happens. When it does, switch to a different kind of task: reorganize your components, read a blog post, or test something simple. You’ll often find the energy returns naturally once you reconnect with what inspired you to build in the first place.
Finding Budget Parts Without Sacrificing Quality
There’s a huge difference between cheap parts and bad parts. Your goal is to pay less without getting junk.
Here’s how:
-
Purchase with well-established online sources of select reviews (eBay, AliExpress, Amazon and local electronic store).
-
Take advantage of community forums and Discord servers that chat about the best sources of components.
-
Initially just use simple, familiar sensors – HC-SR04 distance, IR object detection, SG90 servos – these are inexpensive, are well supported and reliable.
-
Use parts of old toys, busted printers or electronics anything is usually reusable in terms of motors, gears, wires, or even buttons.
Join your local makers organizations or ask at schools or libraries, or community colleges, to see whether they have free stock or swaps. Many STEM programs give away surplus parts if you ask nicely.
Staying Productive with Limited Time and Tools
When you’re working on a budget, you’re probably also working with limited time — between classes, jobs, or family responsibilities. So how do you stay productive?
Divide large projects into small ones that are testable. This is rather than putting all the obstruct dodging robot together at once, only test the wiring between the motor. Then add one sensor. Then add logic. Test often, and don’t wait until the end to find out something doesn’t work.
Adding Advanced Tools Over Time
As your projects get more complex, you might want to invest in a few serious upgrades — but only if they solve problems you already face.
-
A soldering kit (iron, wire, stand) is great when you’re tired of shaky breadboard wires.
-
A logic analyzer helps debug communication protocols once you start using I2C or SPI.
-
A second Arduino board lets you test interactions between two devices — useful for networking, control systems, or remote sensors.
These upgrades can wait. Don’t buy until your current tools limit your learning or testing.
Final Thoughts: The Lab That Grows With You
Your lab doesn’t have to be big. It doesn’t have to be expensive. But it should be yours — a space that works for the way you learn, think, and build.
Start with the basics. Keep it organized. Let each new project teach you what you need next. And remember: every blinking LED, every working sensor, every moving robot is progress.
Your low-budget lab is more than a workspace — it’s your creative launchpad. From that table, floor, or drawer, you’re building knowledge, confidence, and real-world skills that last far beyond robotics.
