


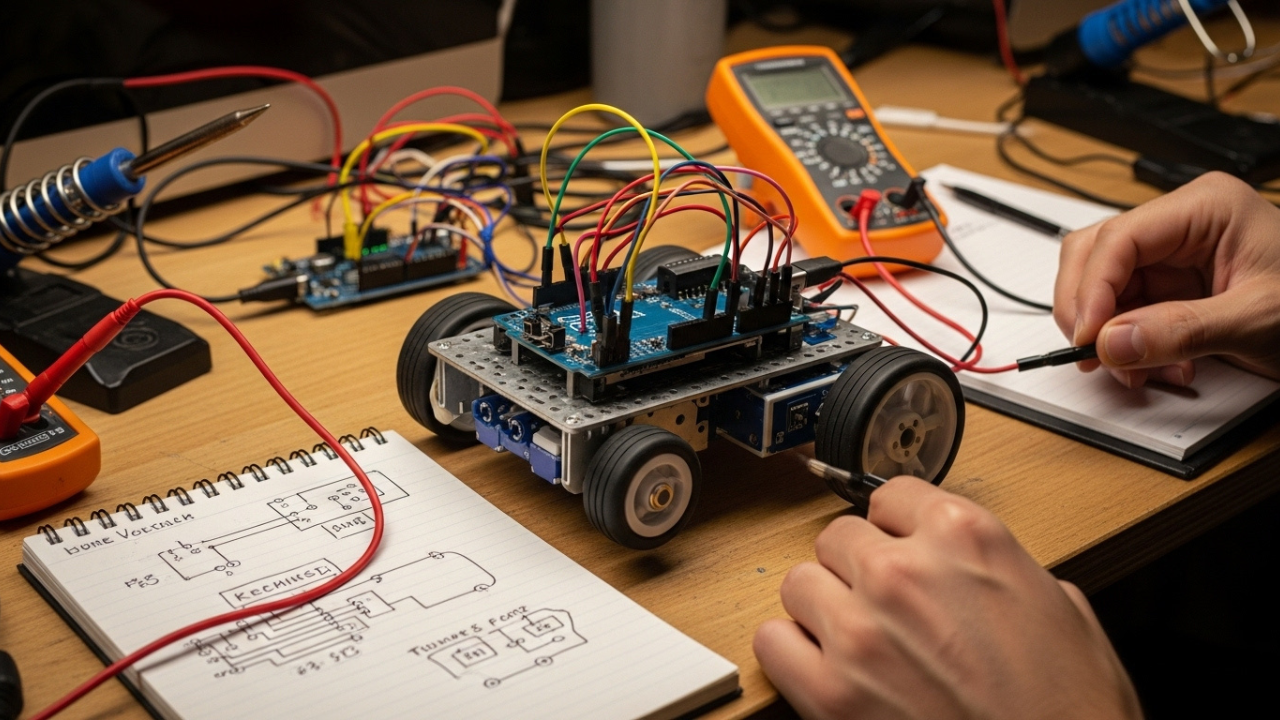
If you’ve ever sat watching your DIY robot suddenly twitch, jerk, or spin in the wrong direction for no clear reason, you’re not alone. Every robot builder — from teenagers wiring their first bot in a garage to seasoned tinkerers building smart machines — has run into the same problem: motion glitches. Those tiny, random movements aren’t just annoying. They ruin precision. They waste battery. And worst of all, they break the illusion that your robot is in control.
Let’s be real, friend — we don’t build robots just to watch them act confused.
As someone who’s been knee-deep in tangled wires, trying to calm down a jittery wheeled bot late at night, I’m writing this guide just for you. I’ll walk you through the real causes behind these glitches, how to test each part of your setup, and how to fix them step-by-step — no confusing jargon, no skipped steps.
We’re solving this, together.
Your Power Supply Might Be Lying to You
Let’s start where most problems actually begin — your robot’s power. A stable robot needs clean, consistent voltage. However a large number of hobby robots use batteries that lose power as they drain or simply cannot meet the current needs of motors and sensors.
Perhaps this is the reason why your robot works well during initial few seconds and then glitches or loses precision. A voltage drop can cause your motor drivers to behave erratically or your microcontroller to reset mid-task.
Even worse, the problem may hide itself — your voltmeter might show “okay” voltage when the system is idle, but the second motors kick in, the voltage dips hard.
The solution? Try using a regulated power supply or add a large capacitor across the power lines to help absorb spikes and drops. Don’t ignore your power wiring either — long or thin wires add resistance, which causes even more drop under load.
Loose Connections Create Phantom Glitches
There’s something oddly evil about a wire that looks connected but isn’t.
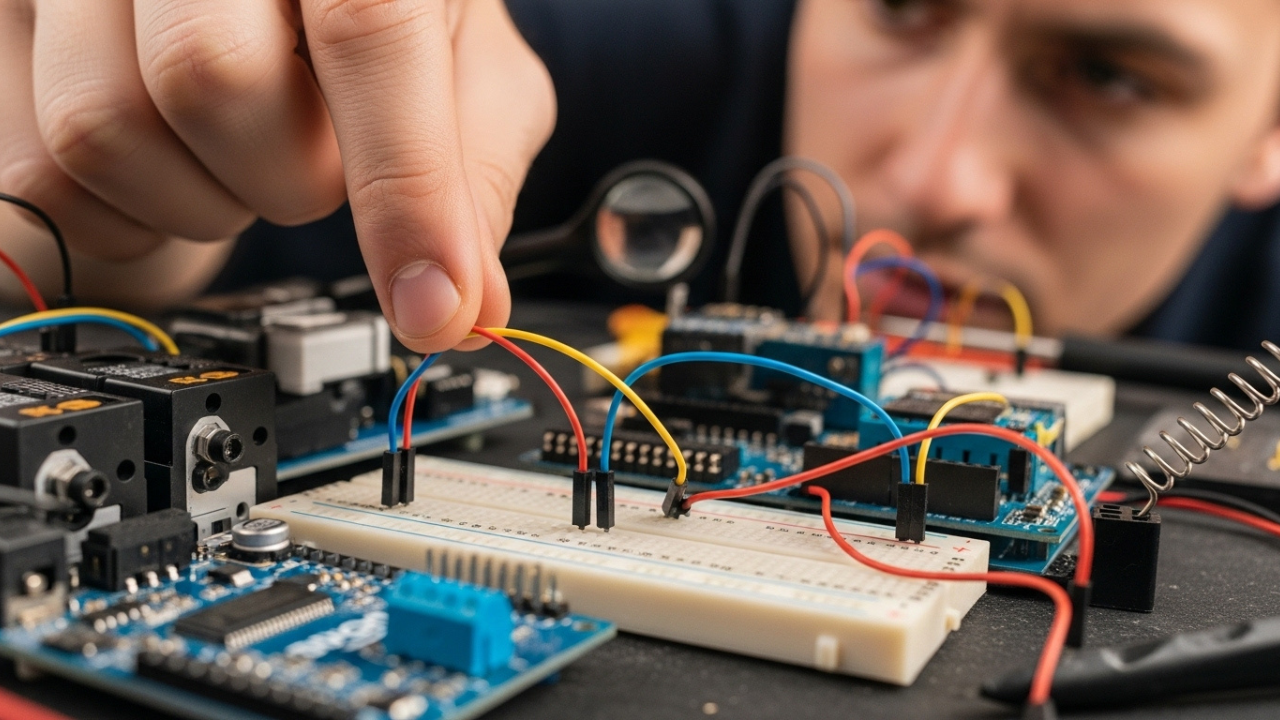
A common cause of motion glitches is a poor connection between your motor, controller, or battery. It might be a wire that isn’t fully pushed into the breadboard, or a cold solder joint that breaks under vibration. Even a flaky jumper wire can make your bot go from smooth moves to robotic seizures.
Take this from someone who once spent two hours debugging code, only to find the motor wire was just half-inserted. Don’t be me. Before diving into code, press on every connection. Tug gently. Re-solder anything suspicious.
And don’t assume pre-built motor driver modules are fault-free. Sometimes the pins are weak, or the soldering inside the module is already loose from the factory.
The Code You Wrote Might Be Sending Mixed Signals
When we write motion code, we expect the motors to follow our logic. But if you have timers running, loops overlapping, or sensor readings being interpreted poorly — you could be giving your motors confusing, fast-changing commands.
This is especially true if you’re using basic “if-else” logic mixed with delays. Motors might be starting and stopping hundreds of times per second because the logic is reacting too quickly to tiny sensor changes or glitches.
One trick that works: simplify the code. Remove unnecessary conditions. Log the output using Serial.print() and actually watch what commands are being sent to the motors in real-time. You’ll often see a flood of conflicting instructions — which explains the weird spasms in movement.
Another smart fix? Use software “debounce” or delay techniques when reading sensor data. This prevents your bot from overreacting to single-frame noise in the readings.
Noise: The Invisible Enemy in Your Wires
Electric noise does not sound very meaningful as a threat but it is. Switching on or off energy loads such as motors produces electrical spikes. These spikes will play havoc with your microcontroller or cause them to act oddly. That’s how a simple “move forward” command turns into “spin in place” without warning.
DIY robots often have their motors, sensors, and logic circuits all sharing the same power rail — which is like having a noisy roommate shouting while you’re trying to focus.
Here’s how to reduce that noise:
-
Add small ceramic capacitors close to the motor leads.
-
Twist motor wires to reduce interference.
-
Use a separate power supply for motors and logic if possible.
I once had a line-following robot that would randomly swerve every few seconds. After checking everything, I added a 100µF capacitor across the motor supply — and like magic, the glitch vanished.
Glitches from Sensors: Don’t Blame the Motors Yet
Before you start replacing motors or rewriting code, make sure the problem isn’t coming from a sensor feeding false data.
Infrared sensors, ultrasonic modules, and gyros are all sensitive. A little dirt, uneven surface, or blocked view can create huge changes in reading. If your robot is using those readings to control movement, even a small sensor glitch can cause a big physical motion.
A good tip: disable the sensor input in code and try driving the motors manually with simple forward and turn commands. If the robot behaves smoothly, then your issue isn’t in the motor system — it’s in how the sensor is used.
Also, check the wiring to sensors. I’ve seen many ultrasonic sensors go haywire just because of a loose ground wire. Clean the lenses. Reseat the wires. And don’t trust any sensor until you’ve tested its values in isolation.
Microcontrollers Sometimes Need a Reset
It’s easy to assume your Arduino or Raspberry Pi is doing what you tell it — but sometimes glitches come from inside the board. This could be a stuck pin, a bug in the loop logic, or a library conflict.
Here’s what you can do:
-
Re-upload a fresh version of your code.
-
Remove unnecessary libraries.
-
Reset all pin outputs at startup using code.
And if your board has been powered on for hours while you test things, restart it regularly. Some memory leaks or stack overflows can build up over time and cause random behavior. Rebooting often clears the weirdness.
Finishing the Fight Against Random Motion Glitches

Welcome back, robot builder. If you’ve followed along so far, you’ve already tested your power, checked your code, and cleaned up your connections. You’ve probably discovered how even the smallest wiring fault or software quirk can lead your robot down the wrong path — literally.
But we’re not done yet. Because even if your robot seems “almost fixed,” those occasional twitches, pauses, or wrong turns might still sneak back in. This part of the guide focuses on the less obvious causes, the deep fixes, and the long-term solutions that can take your glitchy DIY bot and turn it into something that feels solid, predictable, and maybe even a little bit impressive.
Motors Can Misbehave Without Warning
Not all motion glitches come from logic or voltage. Sometimes, the motors themselves are the root of the problem.
If you’re using cheaper brushed DC motors (the kind found in many DIY kits), they may not behave the same way over time. Brushes wear out. Internal friction changes. If one motor slows down just a little, your robot may veer off track or start twitching when trying to go straight.
What can you do?
First, test each motor individually. Lift your robot off the ground and run one wheel at a time. Compare speed, sound, and vibration. If one motor sounds rough or starts later than the other, consider swapping it out.
Second, avoid running motors at very low PWM (pulse width modulation) values. DC motors often “stutter” below a certain threshold because they don’t get enough power to start smoothly. If your code tells them to run at 10% speed, they might just vibrate instead of rotate.
Instead, use motor ramping: increase speed gradually from a higher “start point,” then taper down. This keeps motion smooth and predictable.
Heat Can Turn Electronics Into Liars
One issue I didn’t believe until I saw it myself was heat. Yes, even in a small DIY bot, heat build-up inside motor drivers or chips can cause strange behavior — not full failure, just inconsistency.
Many motor drivers have built-in thermal protection. When they get too hot, they throttle output or shut down for a moment. This can look like a “glitch” when the robot pauses or moves oddly for a second.
If you’ve been running your bot hard, or keeping it powered while testing for long sessions, feel the chips carefully (use your knuckle or back of your hand to avoid burns). If they’re hot, give them a break. Or better — add a small heatsink or airflow if possible.
Heat is also sneaky in battery-powered systems. As your battery drains, internal resistance increases, which causes more heat and less voltage. That affects everything — motors, microcontrollers, even sensors.
Use a Clean Testing Environment
Here’s something most builders don’t think about: your environment matters.
Suppose your robot is working perfectly in your desk, but when you take him off then he is glitching in the floor. Is the issue of code? Maybe not. It may be the flooring. Improperly level surfaces, reflection off sensors, noise of nearby electronics all can cause glitches which can appear to be internal errors.
In case your robot is reliant on light sensors or ultrasonic sensors, make sure you test it in a clean and flat surface first. Remove outside variables. Use tape or markers on the ground to track movement.
And test one thing at a time. Don’t run full code with sensors, motors, and sound modules all enabled. Start with motors only. Then add sensors. This lets you pinpoint where the glitch comes from.
Sometimes the Fix is Better Control Logic

At this stage, if the robot still glitches, it may be time to refine how you control motion.
One mistake many DIY creators make is switching motor directions or speeds too fast. A command that says “full forward” followed by “full reverse” causes a voltage spike, which can reset or confuse your motor driver.
A better method is to use timing and smoothing logic. Instead of hard changes, use transition periods. Give the motors a moment to ramp down before changing direction.
Also, track your robot’s “intent.” If it thinks it should be turning left while also going straight, resolve that with a priority system. Don’t send conflicting commands. Think of it like teaching someone to drive — smooth, predictable inputs create better outcomes.
Symptoms vs. Fixes
| Symptom | Likely Cause | Fix Suggestion |
|---|---|---|
| Random twitching | Power drop or noise | Add capacitors, upgrade battery |
| Sudden stops or resets | Overheat or current spike | Use heatsink, smooth motor control |
| Glitchy sensor behavior | Electrical noise or dirt | Isolate sensors, clean connections |
| Delayed response | Logic bottlenecks | Optimize code, reduce delays |
| One motor slower | Motor wear or imbalance | Test motors, replace if needed |
Google and readers love tables like this — it helps connect real symptoms to practical actions. But remember, it’s still a starting point. Every robot has its own quirks.
Firmware and Libraries Need Love Too
It is not easy to reach the libraries that your code depends on, so old stale libraries or preponderant libraries may add lag, compatibility problems or trivial bugs.
Review whether you are using the most up to date version of your motor control or sensor libraries. Go into your IDE and review imports. Many developers forget to update — especially if their code “used to work.”
Reflashing your microcontroller with a fresh sketch can also help. Over time, repeated uploads can leave behind strange artifacts in memory. A clean upload (after a full erase) ensures that your board is starting from a fresh state.
Also, remove unused code. Even if it doesn’t run, extra code increases compile size, uses memory, and could interfere with active functions.
Last Check: You Might Just Be Asking Too Much
Let me be honest here, friend — sometimes we push our robots too far. We want them to react instantly, drive fast, turn sharply, and multitask without ever skipping a beat. But the reality is, even a great microcontroller has limits.
If your robot tries to read three sensors, make Bluetooth connections, calculate paths, and drive straight all at once… you might get performance hiccups.
Don’t overload the brain. If your robot doesn’t need to read a sensor every 10 milliseconds, slow that down. Use non-blocking code. Spread tasks out.
A little patience in timing gives a lot of smoothness in movement.
My Opinion
Writing this guide came from real hands-on frustration — the kind that only robot builders understand. I’ve burned through motors, rewritten code a hundred times, and stared at a twitching robot wondering what went wrong. This article isn’t theory. It’s built on trial, error, and learning the hard way. My goal was to save you that time and confusion by giving you a clear, practical path to fixing motion glitches without drowning in tech talk. If this helped even a little, then the late-night testing and broken wheels were worth it. Keep building — and never trust a wire that looks connected.
